Showing posts with label decor. Show all posts

Saturday, November 09, 2024

Home repair with squid tentacle

A plastic white access panel on white drywall with an unsightly section of peeled off paint and drywall finish and a pencil line.
Many years ago, way back when I was a solo act, I found it necessary to cut a hole in the wall in the bedroom/office area to access some coaxial cable. I cut a rectangle out of the drywall, accessed the cable and then put the rectangle of drywall back in place with green masking tape.

This wasn't particularly obvious to the other resident who came to live here because I had a dresser, a bunch of empty boxes, a clothes tree, and a sort of nightstand thing in front of this wall. But I've been downsizing a bit and moving things into my new studio space and the taped rectangle became entirely obvious.

It was gently suggested that I replace the taped-up rectangle with an access panel. I had to agree that this was a very good idea, so I got an access panel, removed the taped-up rectangle, and enlarged the hole so the access panel would properly fit.

Alas, in doing so, removal of the tape that had been on the wall for at least 20 years caused a section of paint to also come off, and I put a longer mark on the wall than I had needed.

Some people would probably have addressed these unsightly blemishes with some sort of paint solution. But I do not know much about house paint and am not good at using it.

A pink squid tentacle on paper that appears to be coming out of the access panel and completely covers any unsightly blemish that might actually be there.
However, I can draw a squid tentacle with a Rotring Tikky Graphic C.7 and a set of coloured pencils on a piece of fine tooth surface sketch paper and then use an exacto knife to cut out that tentacle so it perfectly covers unsightly blemishes on a wall.

And that is what I did.

If the other resident of your home has an affection for cephalopods, this is a home repair solution that I can recommend.

The access panel and tentacle and a big section of wall above them demonstrating the charm and appeal of this home repair.


Saturday, September 25, 2021

My new way to display marbles

 When you and your spouse both have enormous hoards of marbles, you are always looking for new ways to display them.

This morning I hit on something that had never occurred to me before: hanging them with a spring. I'm sure others have thought of this before, so I'm not the inventor of the technique, but still I'm inordinately pleased with this.

As an added bonus, my habit of hanging on to bits of junk because they might come in handy some day has been rewarded! I have a nice collection of old springs to go through now.

Other marble display methods:

Sunday, April 04, 2021

Using the new sidewalk chalk

We finally had an excellent day to try out the new sidewalk chalk and went with a modified Easter theme.

Previously: Giant sidewalk chalk for Manon

Friday, December 25, 2020

Giant sidewalk chalk for Manon


 Manon is not the easiest person to shop for, so I like when I can find something to make that cannot be found in the stores.

In this case, it is giant sidewalk chalk that is pretty easy to make.

I bought a bag of plaster of Paris at Preston Hardware and we've actually had about eight bottles of tempera paint in the craft cupboard for more than a decade.

The Instructables calls for using old Pringles containers, but we had a bunch of poster tubes that we were going to discard.

Apparently, the chalk will get used soon if it dries up before we get snow. But I suspect they won't be used up by Canada Day.


Friday, August 04, 2017

Crockery marketing?

The free crockery is still available.


Thursday, August 03, 2017

Collectible Crockery at 200 Lebreton

I'm not an expert on this sort of thing, but it looks like all that is needed is a gentle cleaning.


Friday, September 04, 2015

A Planter Mystery

Can you explain why I'm encouraged to save coffee cans for planters, but I've been expressly asked not to save pop bottles?

Look at these beauties:

Saturday, April 04, 2015

Dinosaur Drawer Pulls

As you know, I'm always eager to make life better for others.  When a lovely women of my intimate acquaintance mentioned that she was thinking about a new look for the handles on her dresser, I became eager to help her find something more aesthetically pleasing.

You can imagine my excitement when I found a do-it-yourself idea on Apartment Therapy. If you go there, you will find instructions on how to make drawer pulls from just about anything and they feature toy dinosaurs.

Toy dinosaurs in a variety of sizes are available at all the best dollar stores at affordable prices. But the Apartment Therapy instructions require work. I found that dinosaurs can go in the handles with no drilling, spray painting or added bolts.

It's been a week and they're still there. Although I've heard "they're not exactly ergonomic".


Tuesday, January 20, 2015

More Coloured Marbles in the Window

I completed another another coloured marbles project last week. For this one I built a heavy frame out of slats of wood that came from a futon bed and quarter-inch thick panes of glass that I think came from window louvres. I've had this glass buried in my closet for years and never knew what to do with it. When I did my 30-day purging challenge in the fall, I decided I had justify hanging on to the glass. (I freely admit that it is concerning that I don't know how long I've had this glass or where it came from. It might have been in the house when I moved in.)

With the success of my first coloured marbles frame, I realized this glass might be stronger than the thin glass in the Ikea frames and if I built the frame from scratch, I could make the space for marbles more narrow so the marbles would be more visible.

I had the slats from the futon frame in the basement waiting for use. It might be that narrower slats might have been better for someone who actually knows how to use a router, but these slats turned out to be a good size for me.

I routed grooves in the slats for the glass to fit into and cut the slats to the right length. (Thanks to Ken G who lent me the router and chop saw to do this with and to Greg S who lent me another saw that I didn't use, but would have if Ken hadn't lent me the chop saw.)  I meant to make the gap only a bit wider than a single marble, but I really was not good with the router and the gap was slightly more than two standard marbles wide. At least I didn't hurt anybody.

I drilled some holes to put the frame together with screws, stained the wood slats with a dark water-based wood stain, assembled the whole thing together and hung it heavy-duty hooks and chain. It probably weighs 20 pounds.

A few of the marbles came from a $1.99 bag at Value Village, but most came from the collection of the lovely Manon.

Saturday, January 17, 2015

Coloured Marbles on the Staircase

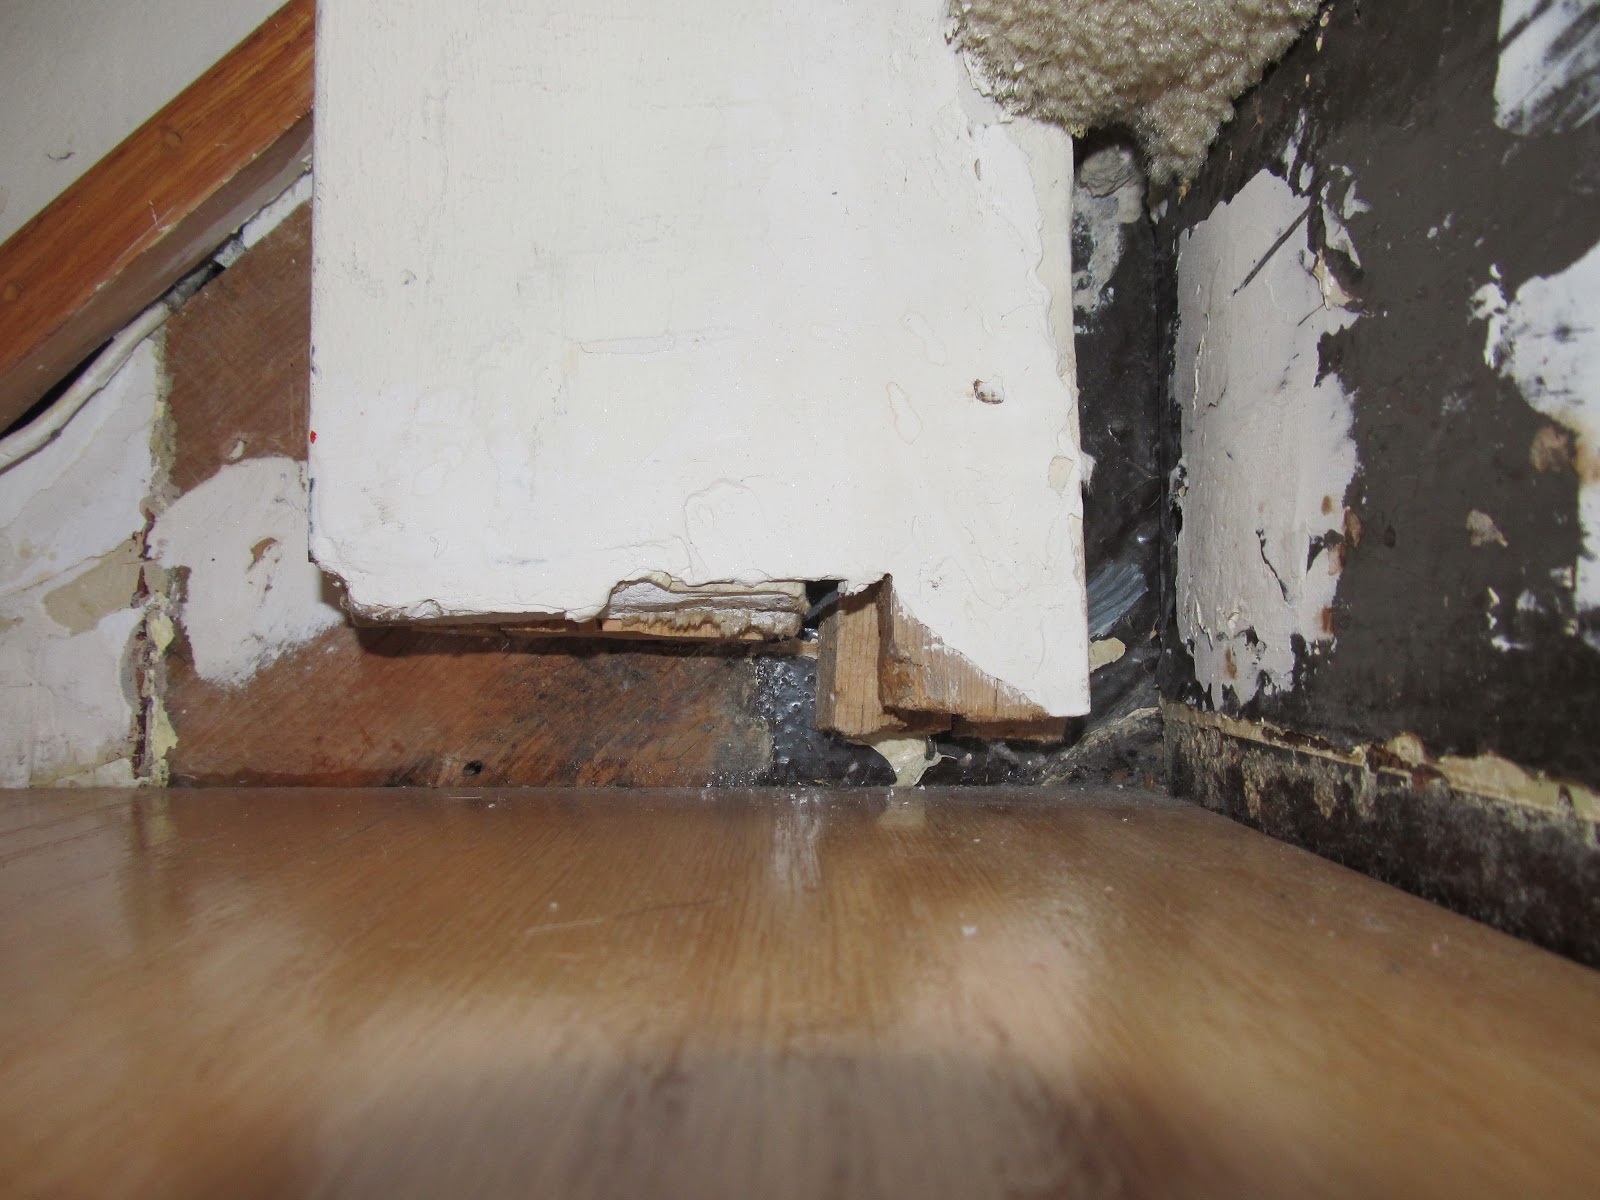
Just before the holidays, I started another coloured marbles project. I didn't do an Instructables for this one because it relied on us having an unsightly gap on our staircase. I hope that unsightly staircase gaps are not common enough that people are looking for attractive things to do with them.

But we had an unsightly gap. We also had one of those solar powered garden lights that had stopped working, a lot of coloured marbles, some plexiglass, wood screws and washers. And I had a little bit of time.

I took apart the solar powered garden light and removed all the circuitry. To my surprise it had a rechargeable double-A battery inside it. I put the battery in my recharger and it did not recharge. So I plugged in a battery that was charged and the LED lit up.

I don't actually know if the tiny solar panel ever worked to recharge the battery, or if it just gave a signal to turn off the light. When I put the circuit in a sunny window, the LED turned off. But a cynical person might figure the manufacturer just put in a battery that would power the light long enough that the purchaser wouldn't return it.


I cut and drilled two pieces of plexigas so they would cover the unsightly gap.

I arranged the circuit so that the battery would tuck in to a place where I could replace it, the solar panel would be exposed to some light (although I don't think it will make any difference) and I can easily switch the light off and on.

Then I packed in a bunch of marbles and screwed the plexigas so that it would hold the marbles in place. Turned on the light and the gap is now beautiful instead of unsightly.


Saturday, December 27, 2014

Coloured Marbles Frame

Here is something I made back in July to hang in the window.

I'd have blogged about it sooner, but it took me a long time to create the Instructable so that you would know how to make one for your own window.