Showing posts with label marbles. Show all posts

Sunday, October 05, 2025

My new marble shelf

A black shelf across a window with 13 little jam jars containing translucent marbles suspended from the shelf and arranged in order from smallest to largest.
close up shot of the four smallest jars hanging from the shelf
I have a new marble shelf in the window of my studio.

I've been wanting to make a lot of things in the past while and when I opened a box that had lots of old jam jars with marbles in them, I decided it was time to act on this project.

So I cut some old wood scraps to the right size, got out more jars and marbles from my jar and marble hordes, painted things, drilled holes, and stuck everything together.

Now we just have to figure out what will go on top of the new shelf.


Saturday, September 25, 2021

My new way to display marbles

 When you and your spouse both have enormous hoards of marbles, you are always looking for new ways to display them.

This morning I hit on something that had never occurred to me before: hanging them with a spring. I'm sure others have thought of this before, so I'm not the inventor of the technique, but still I'm inordinately pleased with this.

As an added bonus, my habit of hanging on to bits of junk because they might come in handy some day has been rewarded! I have a nice collection of old springs to go through now.

Other marble display methods:

Monday, November 16, 2020

I have the best home office

Don't be jealous, but I have a better home office than you do.

You might have two large screens on your monitor. Maybe they're bigger than mine. Your high-speed internet might be faster than mine. And you might have a window view of mountains or a lake and not a house being built across the street.

But you don't have a raygun rack, three lava lamps, two plasma lamps and a marble run.

Like I do.


And here's a video so you can see things in motion:

Monday, November 09, 2020

The new 2-level marble shelf


After I made my first hanging marble shelf, I still had two pieces of wood left over and everything else I needed to make more.

For some reason, the idea of making a 2-level shelf with all this became an obsession. 

So I did it.

The new build had three innovations:

  1. I added clear skinny lightbulbs to the wider jars to increase light flow through the marbles.
  2. I attached the jar lids with two screws so they wouldn't rotate when I attached the jar.
  3. I did not move the shelf with jars of marbles attached. Thus avoiding having a jar full of marbles falling off and smashing on the tile floor.
I've updated my Instructable to show both designs and the new methods.

Tuesday, September 29, 2020

New window art

Check it out: I made a new piece of whimsical art using mostly found objects.

It's my Hanging Marble Shelf.

I admit that I bought the chain and the cuphooks, but the jars, the wood, the marbles and even the stegosaurus were just stuff I had hanging around.

Added bonus: I wrote an Instructable so that anyone who can't tell how to make their own from just looking at it will be able to. Now that I think about it, there could be useful tips in the Instructable even for someone who doesn't need instructions.

Tuesday, January 20, 2015

More Coloured Marbles in the Window

I completed another another coloured marbles project last week. For this one I built a heavy frame out of slats of wood that came from a futon bed and quarter-inch thick panes of glass that I think came from window louvres. I've had this glass buried in my closet for years and never knew what to do with it. When I did my 30-day purging challenge in the fall, I decided I had justify hanging on to the glass. (I freely admit that it is concerning that I don't know how long I've had this glass or where it came from. It might have been in the house when I moved in.)

With the success of my first coloured marbles frame, I realized this glass might be stronger than the thin glass in the Ikea frames and if I built the frame from scratch, I could make the space for marbles more narrow so the marbles would be more visible.

I had the slats from the futon frame in the basement waiting for use. It might be that narrower slats might have been better for someone who actually knows how to use a router, but these slats turned out to be a good size for me.

I routed grooves in the slats for the glass to fit into and cut the slats to the right length. (Thanks to Ken G who lent me the router and chop saw to do this with and to Greg S who lent me another saw that I didn't use, but would have if Ken hadn't lent me the chop saw.)  I meant to make the gap only a bit wider than a single marble, but I really was not good with the router and the gap was slightly more than two standard marbles wide. At least I didn't hurt anybody.

I drilled some holes to put the frame together with screws, stained the wood slats with a dark water-based wood stain, assembled the whole thing together and hung it heavy-duty hooks and chain. It probably weighs 20 pounds.

A few of the marbles came from a $1.99 bag at Value Village, but most came from the collection of the lovely Manon.

Saturday, January 17, 2015

Coloured Marbles on the Staircase

Just before the holidays, I started another coloured marbles project. I didn't do an Instructables for this one because it relied on us having an unsightly gap on our staircase. I hope that unsightly staircase gaps are not common enough that people are looking for attractive things to do with them.

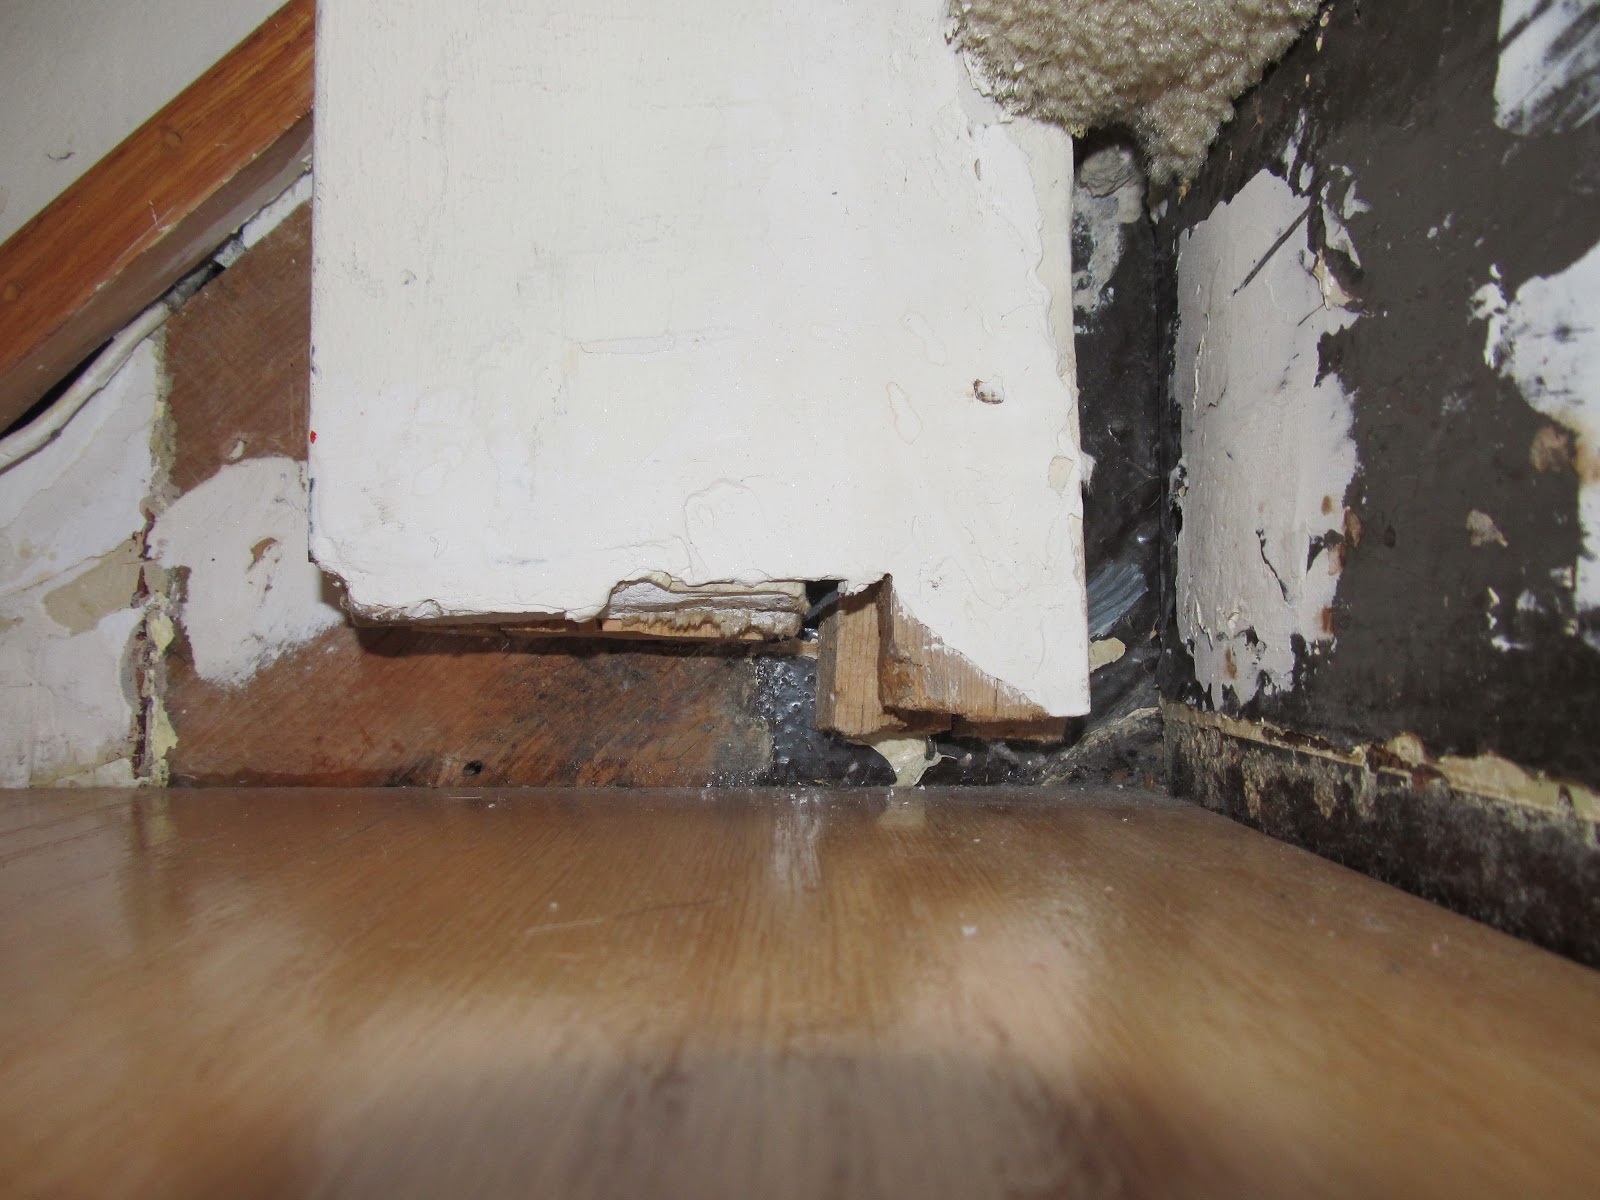
But we had an unsightly gap. We also had one of those solar powered garden lights that had stopped working, a lot of coloured marbles, some plexiglass, wood screws and washers. And I had a little bit of time.

I took apart the solar powered garden light and removed all the circuitry. To my surprise it had a rechargeable double-A battery inside it. I put the battery in my recharger and it did not recharge. So I plugged in a battery that was charged and the LED lit up.

I don't actually know if the tiny solar panel ever worked to recharge the battery, or if it just gave a signal to turn off the light. When I put the circuit in a sunny window, the LED turned off. But a cynical person might figure the manufacturer just put in a battery that would power the light long enough that the purchaser wouldn't return it.


I cut and drilled two pieces of plexigas so they would cover the unsightly gap.

I arranged the circuit so that the battery would tuck in to a place where I could replace it, the solar panel would be exposed to some light (although I don't think it will make any difference) and I can easily switch the light off and on.

Then I packed in a bunch of marbles and screwed the plexigas so that it would hold the marbles in place. Turned on the light and the gap is now beautiful instead of unsightly.


Saturday, December 27, 2014

Coloured Marbles Frame

Here is something I made back in July to hang in the window.

I'd have blogged about it sooner, but it took me a long time to create the Instructable so that you would know how to make one for your own window.